Category Archives: Nuke

Detecting a Nuke Panel closing

This is a simple, straight-forward style post. [EDIT: lol, I wish – click here to see what I ACTUALLY ended up doing]. I am working with updating my tks “Suite” of tools for Shotgun-Nuke integration, and I wanted to be sure I was doing everything as safely as possible. As such, I wanted to make sure that when a user “hides” the panel in Nuke, my panel cleans up after itself. (I noticed that, by default, when the panel is “closed” with the X box, the panel itself and the thread keep going and going and going in the background).

With some dir() inspection and some super() magic, I was able to determine the following functions to override if you want to add special nuke panel close and open logic:

class NotesPanel( QWidget ):
	def __init__( self , scrollable=True):
		QWidget.__init__(self)

	def hideEvent(self, *args, **kwargs):
		#this function fires when the user closes the panel
		super(NotesPanel, self).hideEvent(*args, **kwargs)

	def showEvent(self, *args, **kwargs):
		#this function fires when the user opens the panel
		super(NotesPanel, self).showEvent(*args, **kwargs)

Short and sweet! Hopefully this will help others who are looking for similar logic.

UPDATED: Well, nothing is ever that simple, is it?
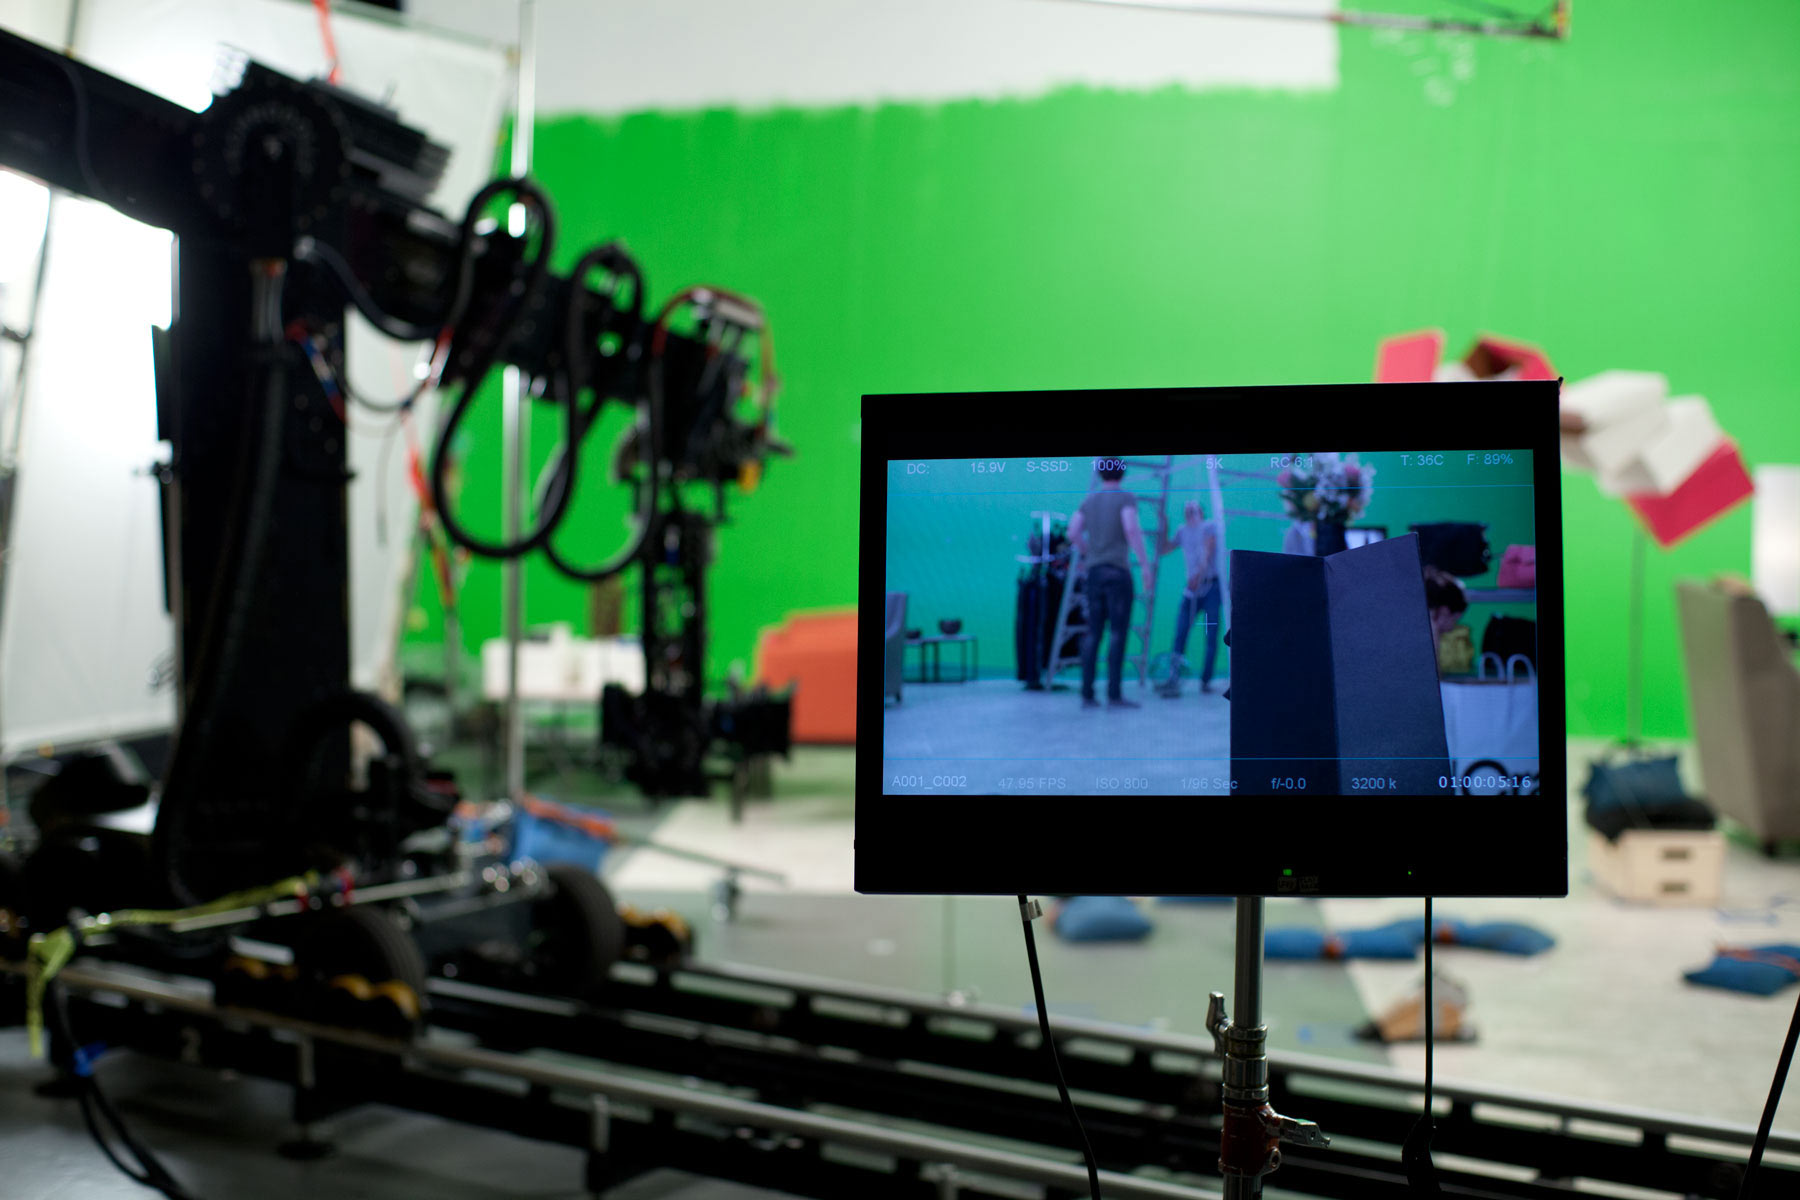
Continue Reading →

Nuke and Shotgun Integration

In my years at the Molecule in NYC, first as a freelancer and then as a perma-lancer, I had lots of time to observe how a mid-sized studio manages the sometimes huge number of shots that need to be kept track of on a daily basis. When I started, the studio was using Ftrack to manage its shot pipeline, and while poking around online I saw that ftrack had a python API, and a lightbulb went off – Nuke + Python + Ftrack = ? Awesomeness, anyway.

So I went to work on building a nuke-based shot tracking system, first for artists but then expanding to include supervisors as well. I called it “the dashboard”, and though it started small it quickly became essential to the Molecule’s pipeline. When the studio switched tracking packages to Shotgun, a lot more functionality was exposed and the whole thing just got 50% better. You can catch a quick glimpse of it in this promotional video from Autodesk – at around 0:55 in this video, the awesome Rick Shick talks about how he uses it instead of the web-based interface almost exclusively in his role as comp supervisor:


Gone were the days of manually creating contact sheets for each project; now every artist and supervisor had access to dynamic contact sheets, through which they could see and change statuses, read and post notes and images, and quickly open any shot.

JPEG compression in nuke (in-line)

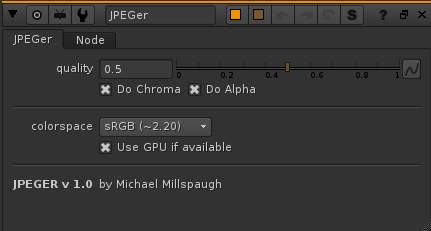
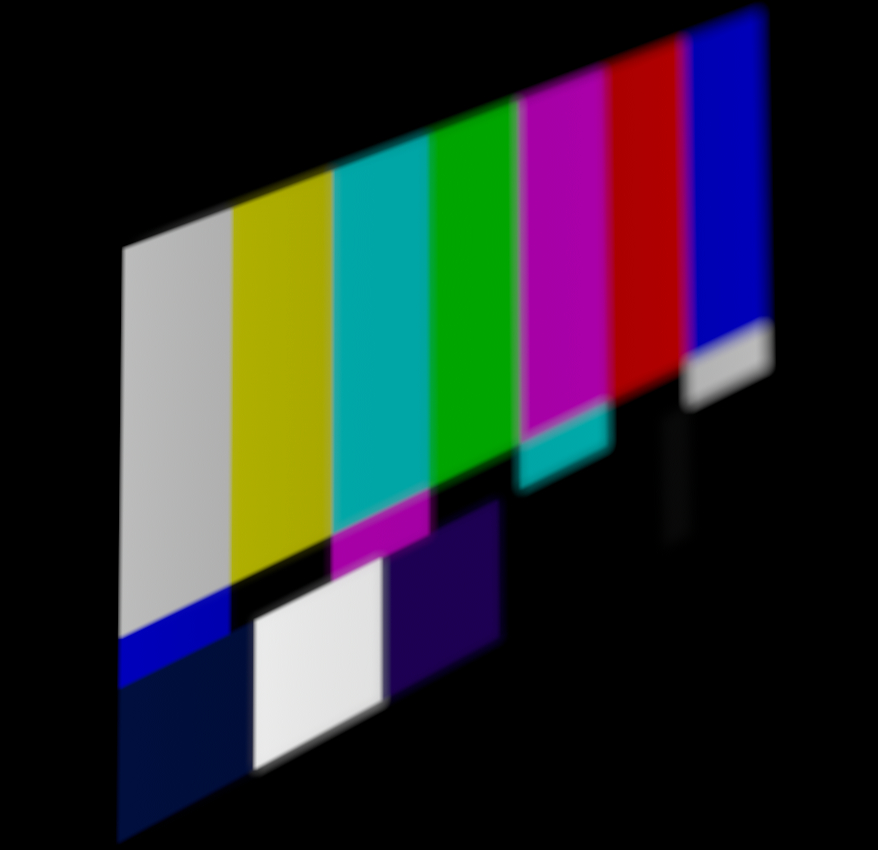
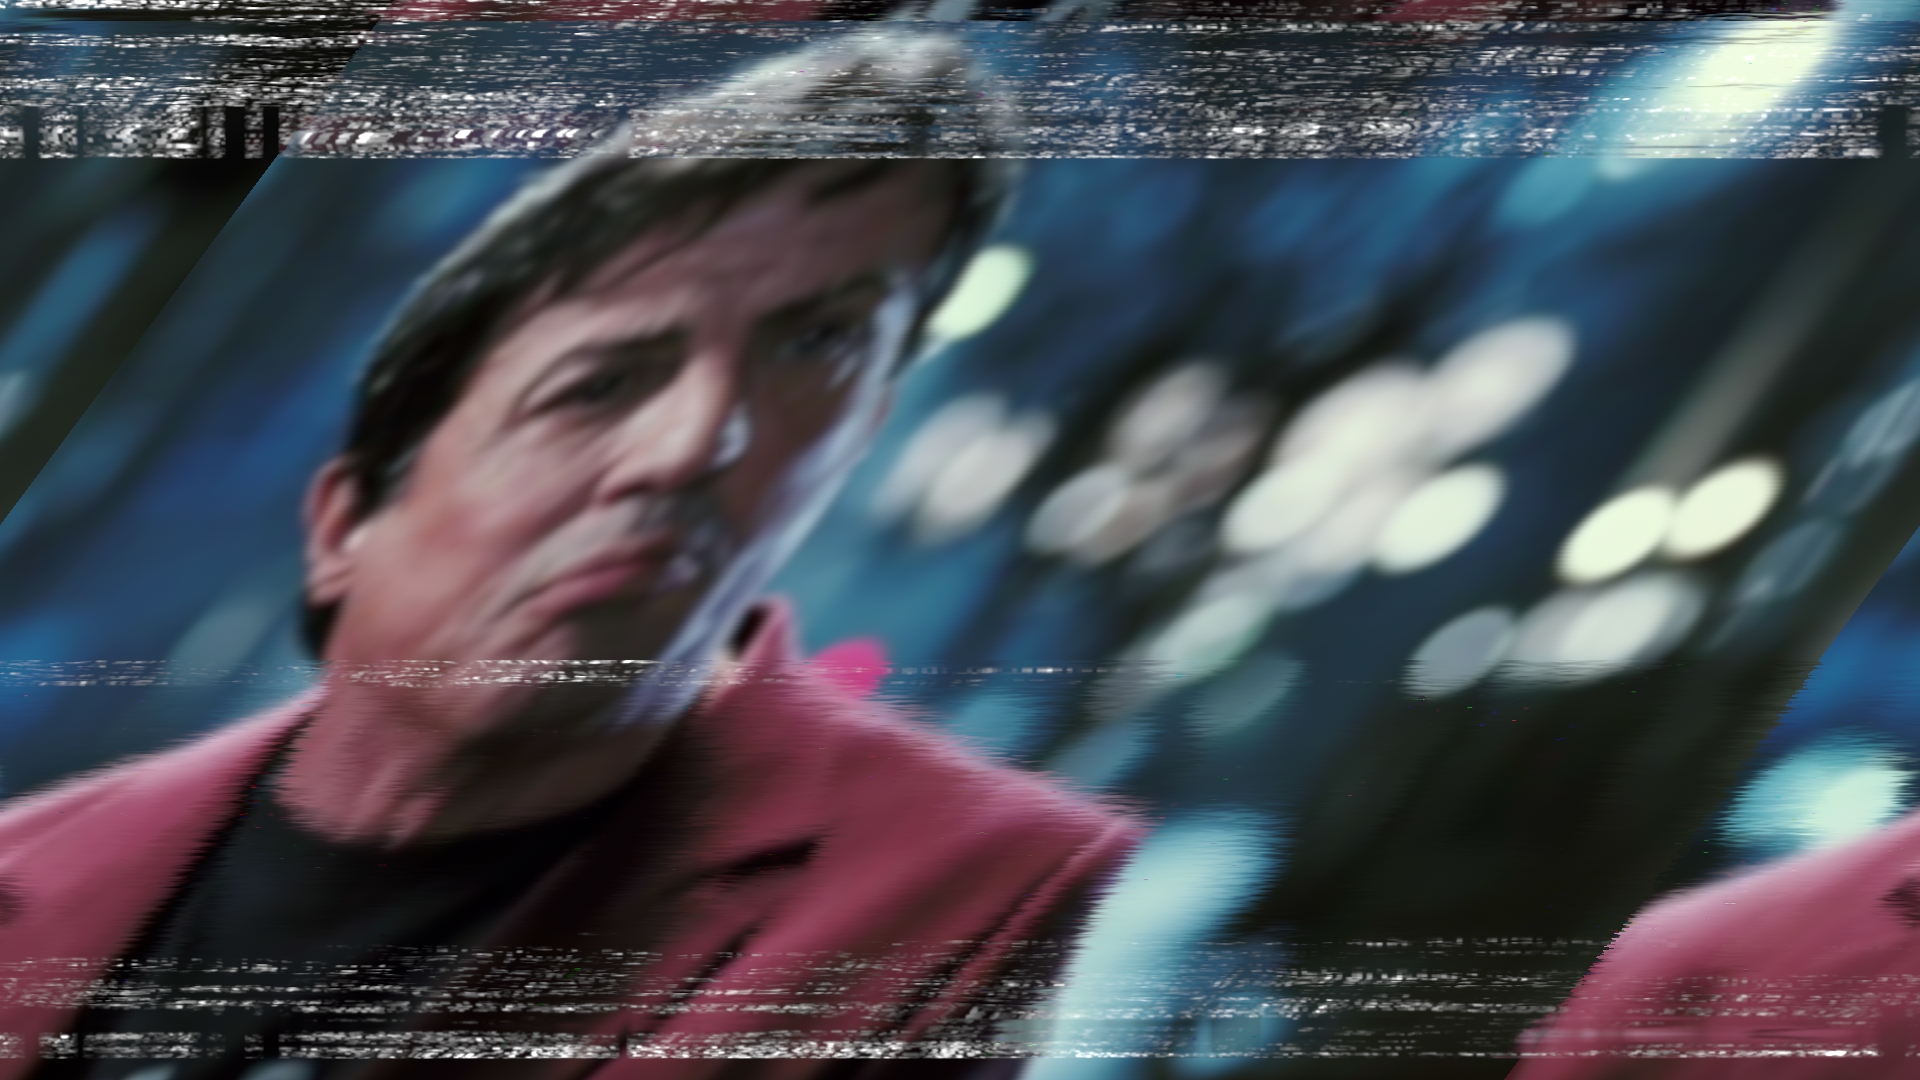
I’ve been annoyed with the basic jpeg nuke workflow for a while – the only way to get that magic compression look was to write it out as a jpeg, and then read it back in. So when I discovered blink scripts last week, building this was a great way to learn.

Introducing – JPEGer! Including quality slider, and options for chroma and alpha (jpeg-ing an alpha is untested right now). Interestingly enough, in our testing, the results were identical across multiple machines, so this should be safe for a renderfarm. I’m not sure if it’s coded in the most efficient way, but it seems to only take a few seconds/frame, even on 4k images, which seems workable.

Update 12/8/22 – At some point the Blink syntax changed and the tool started to fail in newer versions of nuke. This has been fixed! [check out this forum post on the nuke dev forum for more info]

Download:

JPEGer Gizmo
tested on Nuke 11/12/13, Win 10

Nuke Ramped Defocus

If I have an image in nuke that I want to control the falloff of the depth of field, ordinarily I would pump a ramp into the mask input of defocus. However, this would only work if I want my defocus to start at 0 and move to some value. If, however, I want the smallest amount of defocus to be something other than 0, say 2, I can’t achieve this effect with a good result, even if I adjust the start value of my mask input (instead of ramping from 0-1, say .2-1). If I input this ramp into the mask input on a defocus, this is the result:

maskedDefocus

Instead of moving from a 2 defocus to a 10 defocus, instead I get the original un-blurred result, with the 10 defocus merged on top of it at 20%, creating a halo.

With a few merges and two defocuses instead, I can get a much better result:

rampedDefocus

So I grouped this little setup and posted it here. Simply add a gradient map into the ramp input, 0-1, and set your minimum blur and maximum blur values, and you’ll get a much smoother result.

Download:

rampedDefocus
tested on Nuke 9.0v4

Nuke VHS Noise Group

vhs063

I’ve recently had to create (and re-use) a customizable VHS tracking-error style effect in Nuke, and have collected the node group in the attached file. It’s mostly controlled by some nobs on the “MASTER” node, though there are some other tweakable elements here. Unfortunately there’s no documentation so you’ll have to play around with it, but I’ve been getting good results from it.

Download:

vhsNoise
tested on Nuke 8.0v1

Nuke multiGrad

***updated 3/9/2015

I’ll be the first to admit that I’m no expert on rotoscoping, but in my experience one of the first tools I look for is a multi-gradient – something that I can use to paint out large sections of the image, and then add detail to. So I was surprised that, besides this shake-like 4-point gradient there wasn’t anything in Nuke that was what I wanted. The shake gradient is nice, but I was really looking for one that would allow me to move the points around in space, and would interpolate colors around the points as well as in between. With some patience and a lot of math (point-slope anyone?) I created a gizmo that will do just that. Below you can see the results on a racecar:

Of course, it’s not perfect, and there would need to be fine tuning around the edges, but all the rotoing in that image was done just with this tool. The user pipes in the source image to “Source” and a mask to “matte”, and the gizmo will comp it onto the source automatically, preserving the source alpha (the user can turn this feature off under the “Matte” tab. It also includes python scripting that will automatically grab the color of the source at the points, which makes painting out areas really quick and easy.

Control Panel

Because of the math involved, points 1 & 2 must be at the top, and 3 & 4 at the bottom, or it will start to act screwy. If it needs to rotate, you’re better off translating the whole result.

Download:

4pointgradient.txt
tested on Nuke 9.0v4

Nuke command line, “argument not used”

Working with my python-based nuke render farm, I’ve been shoring up the code to deal with some unusual instances (single frames, fewer frames than clients, et al). When passing arguments to Nuke for rendering, I used this format:

Nuke7.0v6 -m 8 -x projectFile.nk -F 250-500

When I need to send multiple frames, or frame ranges, to the same instance, the documentation says you can use multiple instances of the -F argument, like so:

Nuke7.0v6 -m 8 -x projectFile.nk -F 250-500 -F 550-700

What you’ll get, though, is only the second specified frame range (in this case, 550-700) rendering, and the following output:

"-F": argument not used
"250-500": argument not used
"-F": argument not used

After discussing with Foundry support, it seems the -F switch will only work if placed before the -x switch, like so:

Nuke7.0v6 -m 8 -F 250-500 -F 550-700 -x projectFile.nk
Otherwise, Nuke assumes the last number is the legacy method of passing frame ranges to the command line renderer, and ignores your -F switch. I’ve requested that this be specifically mentioned in the documentation.

Technodolly Focus, Z-Depth, and Lens Distortion

techno_dolly

Any comp lives or dies on subtle qualities of a scene – color, depth of field, lens distortion, etc etc. Solving lens distortion with nuke is pretty easy once you understand the process (and immensely easy if you prepare ahead of time!); without a good lens distortion solve you’ll never get a convincing composite. Depth of field is easier to do a guess-and-check method, but of course we’d much rather get an accurate result. We’ll discuss both, but first a quick overview of the technodolly itself.

Continue Reading →