not sure why I couldn’t find this anywhere else
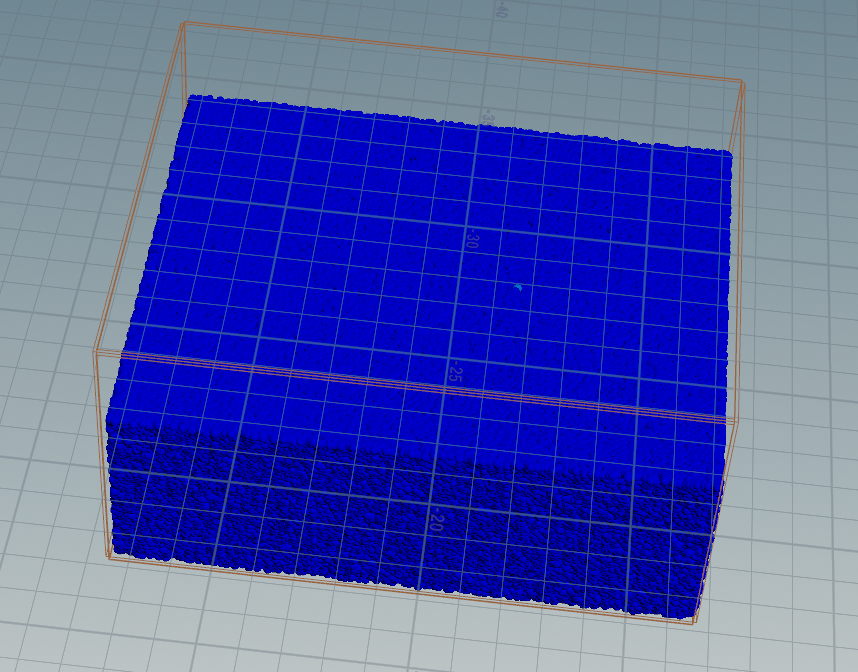
Getting uvs from rest position in Houdini is critical for texturing most of the interesting solvers especially FLIP. There are many methods but I couldn’t find anything that was just straightforward on the internet. Note this solution does not utilize animated rest positions – though it could be easily adjusted by you to do so.
Since UVs are a 3 vector, we’ll convert our primary surface axises (in this case, x and z) to the first two UV values, and use the 3rd value to store a Y axis number1.
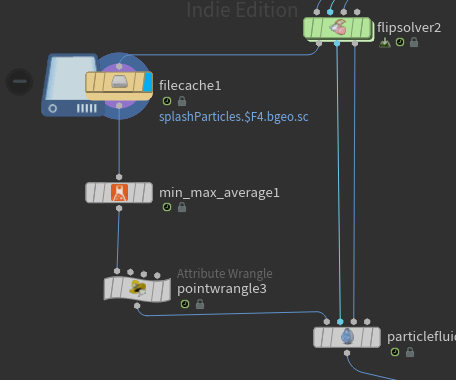
In this case, we’ll use the lovely min-max-average node (from labs) to determine the minimum and maximum value of our rest attribute (created in our flip container node above our solver). This node creates a detail attribute based on your specifications, so we’ll ask for the minimum and maximum values of all points.
Then it’s into vex:
vector max_rest = detail(0, "max_rest");
vector min_rest = detail(0, "min_rest");

float distX = max_rest.x-min_rest.x;
float distY = max_rest.y-min_rest.y;
float distZ = max_rest.z-min_rest.z;

float uvX = (@rest.x-min_rest.x)/distX;
float uvY = (@rest.y-min_rest.y)/distY;
float uvZ = (@rest.z-min_rest.z)/distZ;
v@uv = set(uvX, 1.0-uvZ, uvY);
We’re simply converting our rest position into a float value from 0.0 -> 1.0, and putting that into our uv attribute. Note we used our primary axises (X + Z) as the first two values in our uv vector, and I flopped the z so it would look left -> right from the camera.
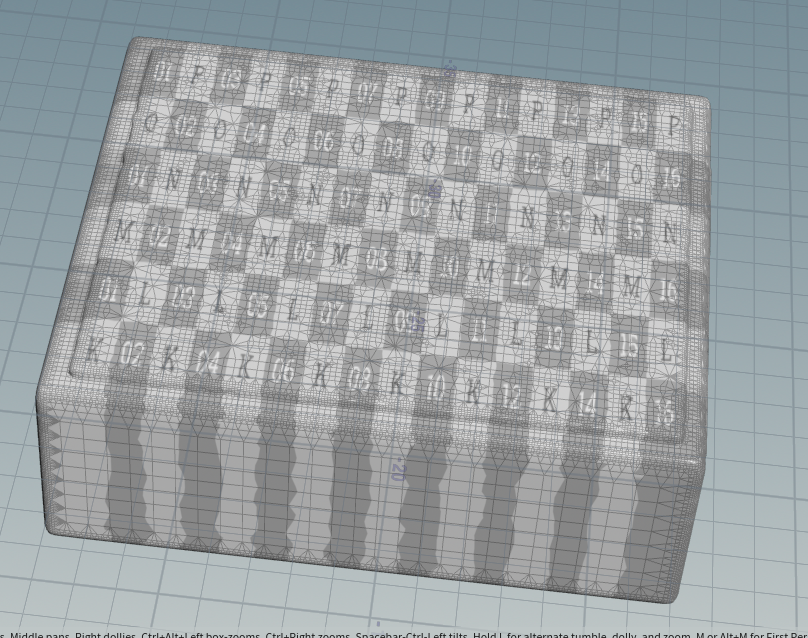
- UVs are in 2d space, so the 3rd number is generally superfluous, however it is passed to the shader so it could be utilized for the texture. In this case, you could use the Y value of our UVs to determine the depth of the liquid and shade those particles darker. (blood in the water anyone??) ↩︎
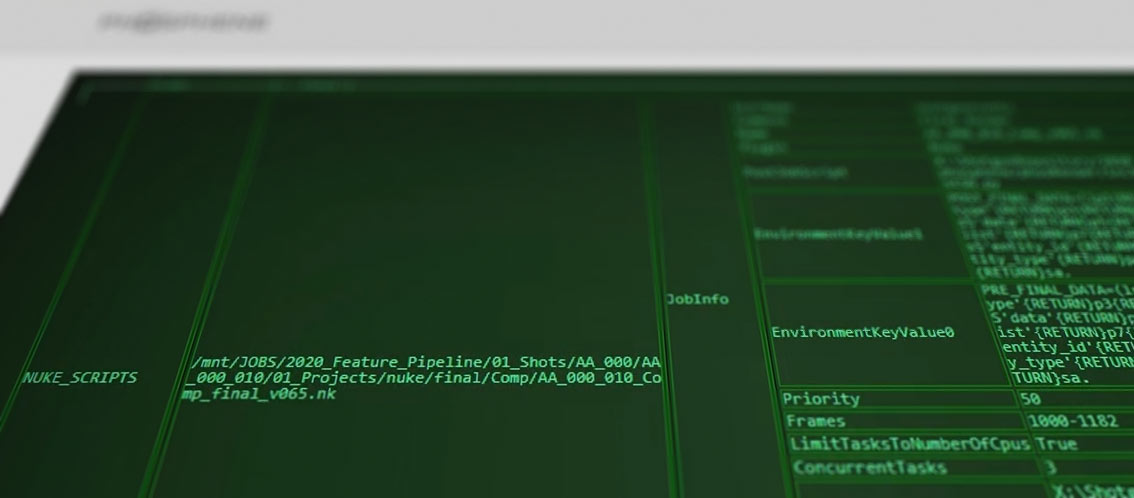
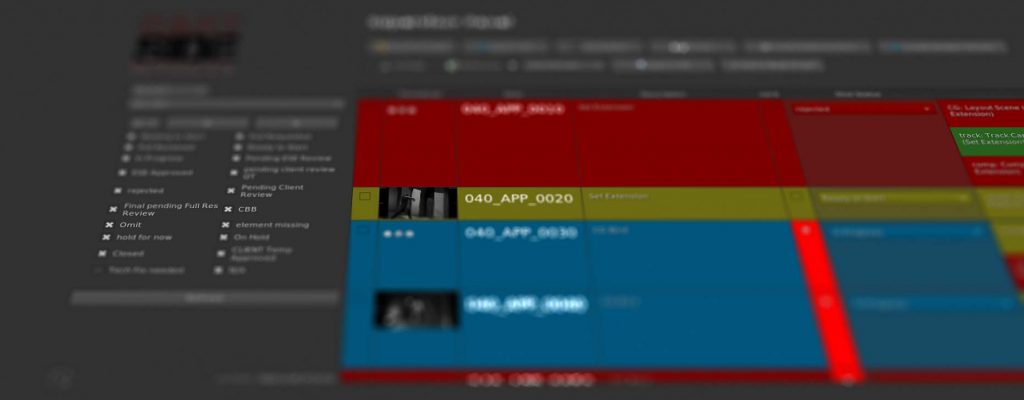

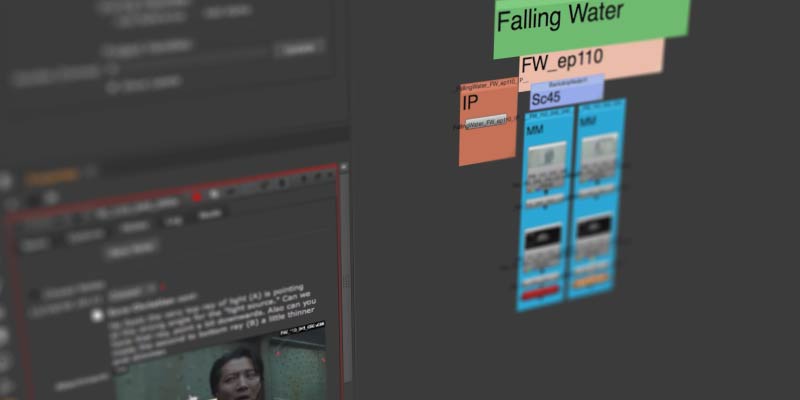 So I went to work on building a nuke-based shot tracking system, first for artists but then expanding to include supervisors as well. I called it “the dashboard”, and though it started small it quickly became essential to the Molecule’s pipeline. When the studio switched tracking packages to Shotgun, a lot more functionality was exposed and the whole thing just got 50% better. You can catch a quick glimpse of it in this promotional video from Autodesk – at around 0:55 in this video, the awesome Rick Shick talks about how he uses it instead of the web-based interface almost exclusively in his role as comp supervisor:
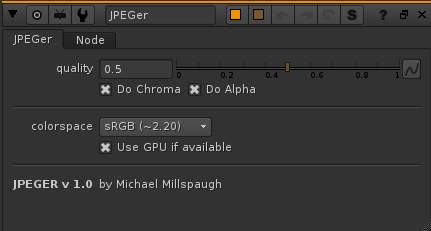
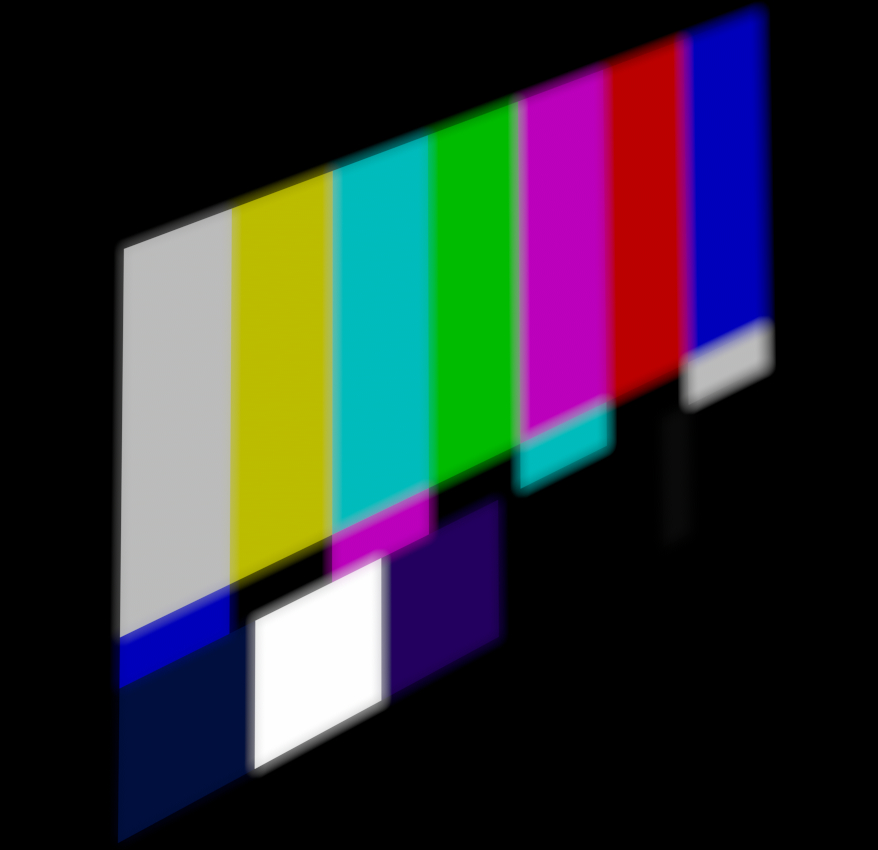
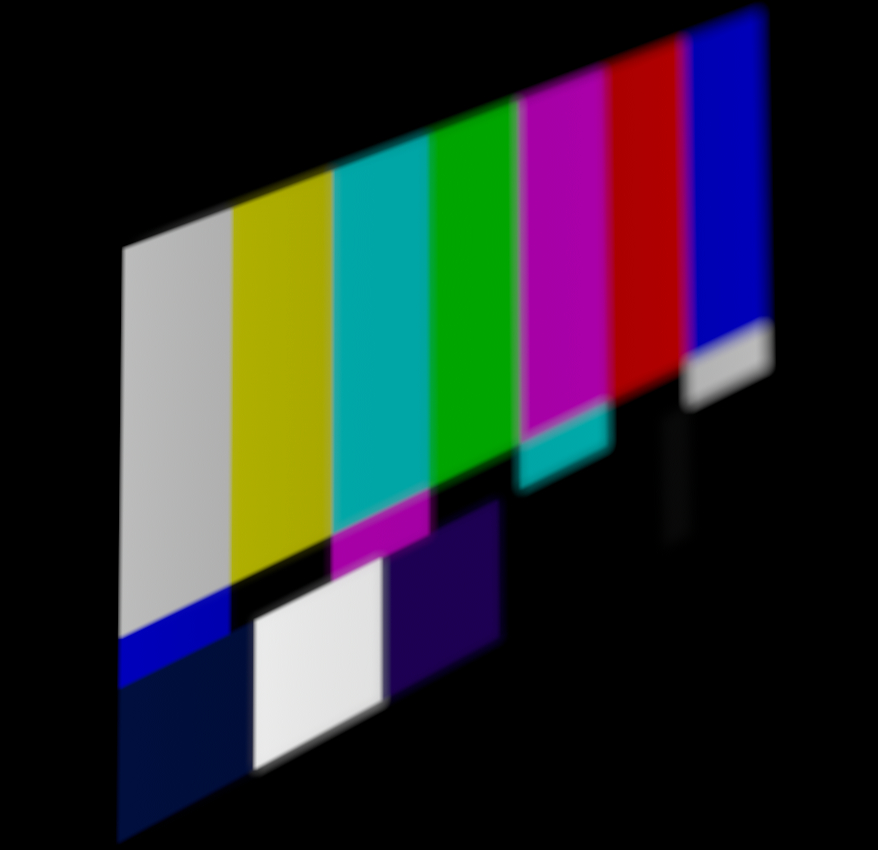
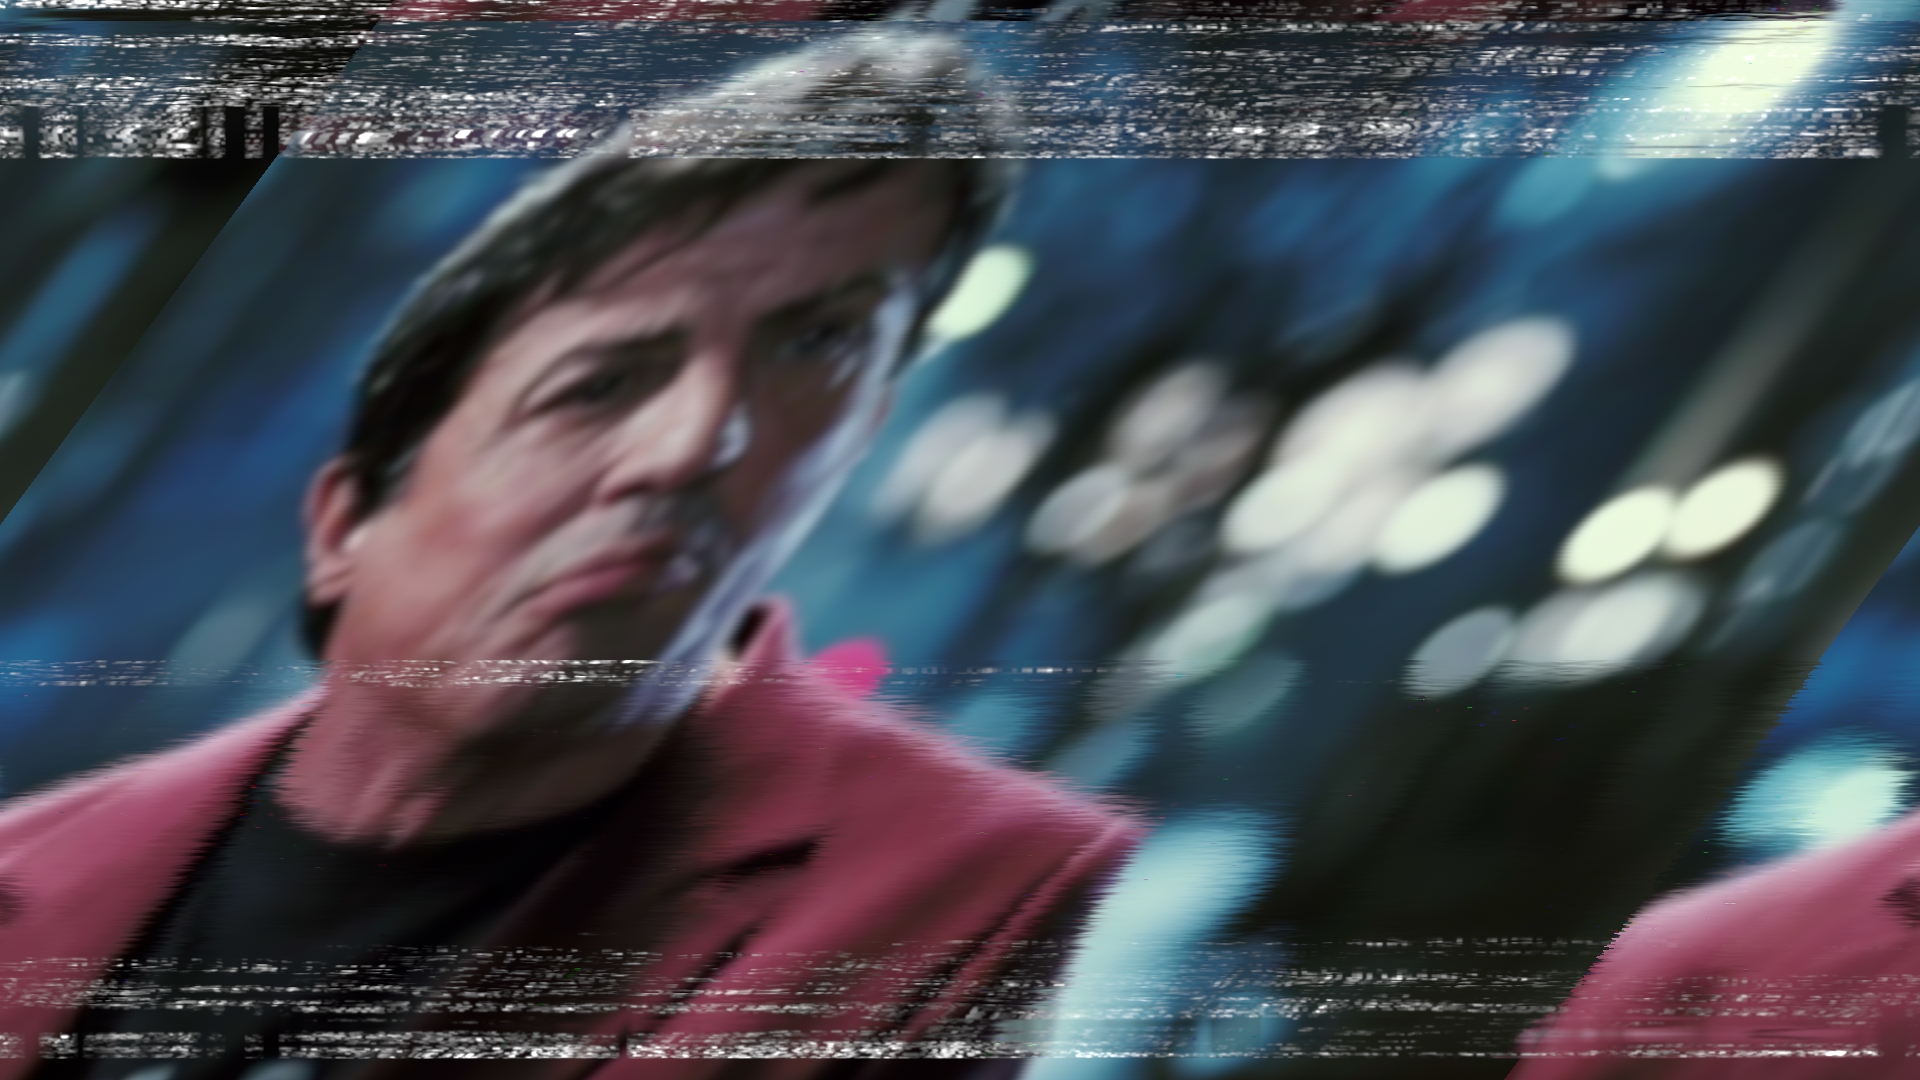
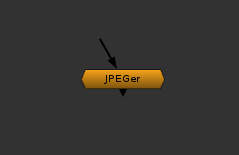 I’ve been annoyed with the basic jpeg nuke workflow for a while – the only way to get that magic compression look was to write it out as a jpeg, and then read it back in. So when I discovered blink scripts last week, building this was a great way to learn.